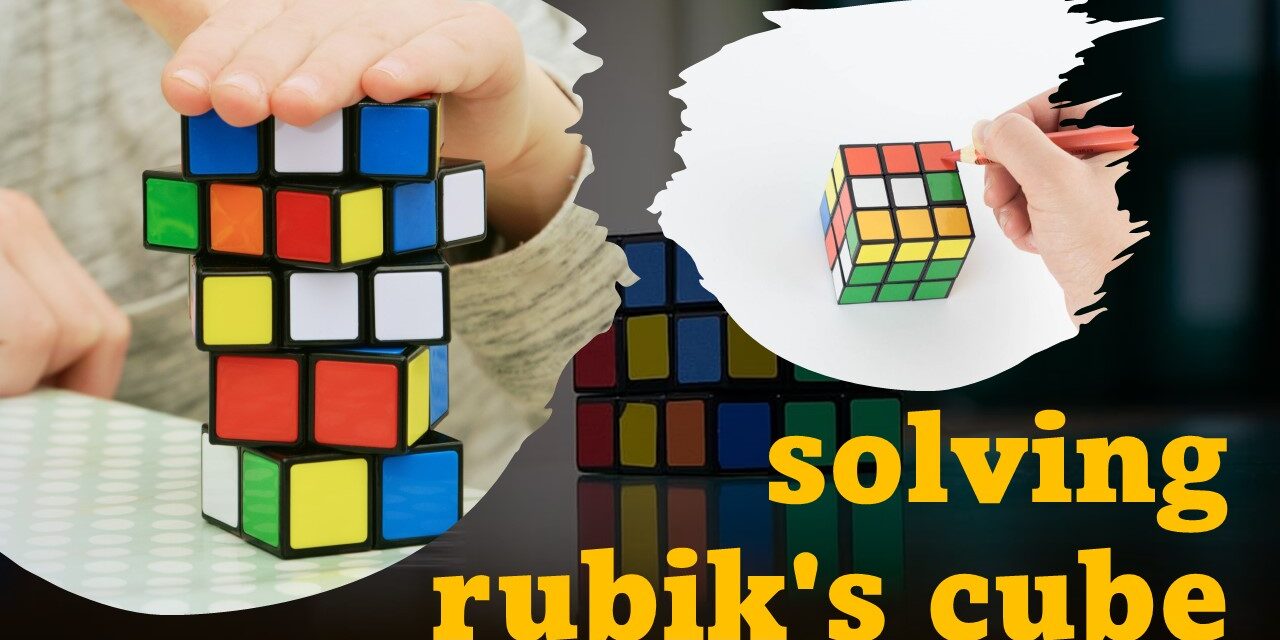
Mystery of Solving Rubik’s Cube
In the fascinating world of puzzles, the Rubik’s cube stands out as an enigma that both beginners and experts love to decode. Are you intrigued by the prospect of solving Rubik’s cube faster? Wondering if it’s possible to turn this puzzle from a source of frustration into one of delight? Stick with us as we delve into the mystery of this colorful puzzle, offering you a unique and efficient approach to mastering the cube.
The secrets of the Rubik’s cube are about to be unlocked! 🎲
A Step-by-Step Guide to Solving Rubik’s Cube
The Rubik’s Cube is a classic puzzle that has challenged and entertained people for decades. While it may seem daunting at first, with the right approach and practice, anyone can learn to solve it. In this step-by-step guide, we will break down the process into manageable chunks, enabling you to master the Rubik’s Cube.
Step 1: Understand the Cube
Before diving into solving the puzzle, it is essential to understand the mechanics of the Rubik’s Cube. The cube consists of 6 faces, each with a different color. Each face has 9 smaller squares, making a total of 54 squares on the entire cube. The goal is to align each face so that all 9 squares are of the same color.
Step 2: Learn the Notation
The Rubik’s Cube has a specific notation system that represents different moves. This system uses letters to indicate the rotations of the cube. Here are the basic notations:
- F: Front face (clockwise rotation)
- B: Back face (clockwise rotation)
- R: Right face (clockwise rotation)
- L: Left face (clockwise rotation)
- U: Upper face (clockwise rotation)
- D: Down face (clockwise rotation)
These notations will be used throughout the solving process to describe the moves you need to make.
Step 3: Solve the Cross
The first step in solving the Rubik’s Cube is to solve the cross on one face. Choose a color to start with, and position the four edge pieces of that color in a cross shape on one face. This may require a series of rotations using the notation system.
Step 4: Complete the First Layer
Once the cross is solved, the next step is to solve the corners and complete the first layer. By manipulating the cube and using specific algorithms, you can position the corner pieces so that all three colors on each corner match the adjacent sides.
Step 5: Solve the Second Layer
After completing the first layer, focus on solving the second layer. This involves positioning the edge pieces on the middle layer so that they match the colors on the adjacent sides. Again, specific algorithms will help you achieve this.
Step 6: Orient the Last Layer
With the first two layers solved, it’s time to tackle the last layer. Begin by orienting the last layer edges so that they align with the corresponding colors on the adjacent sides. This step requires some memorization of algorithms.
Step 7: Permute the Last Layer
The final step is to permute the last layer, which means rearranging the last layer corners into their correct positions. This is the most challenging step and involves more advanced algorithms.
Understanding the Rubik’s Cube
The Rubik’s cube, named after its inventor Erno Rubik, is more than just a puzzle. It’s a combination of mathematics, geometry, and art, all meshed into one. Recognizing the different elements of the cube and how they interact is the first step to mastery.
The Anatomy of the Cube
Comprised of 26 miniature cubes, often referred to as ‘cubies’, the Rubik’s cube has three types of pieces: the center pieces that define the color of each face when solved, the edge pieces that have two colors, and the corner pieces with three colors. Knowing these and how they move around the cube is essential for understanding any solving method.
Strategies to Solve the Rubik’s Cube Faster
The key to solving the Rubik’s cube is strategy. Here we’ll delve into the most commonly used methods: the beginner’s method for those just starting out, the Fridrich method (CFOP) for more experienced solvers aiming for speed, and the Roux method, a less algorithm-heavy method preferred by some speedcubers.
Practice Techniques and Drills
Getting faster at solving the Rubik’s cube isn’t just about knowing the right algorithms. It also involves developing muscle memory through consistent practice. From finger tricks to cube rotations, we’ll explore a series of drills that can help you shave off precious seconds from your solving time.
“Don’t be afraid of challenging puzzles and problems. They are the gymnasiums where we work out our minds.” – Unknown
Conclusion
Mastering Rubik’s Cube may take time and practice, but with a systematic approach and perseverance, you can solve it. By following this step-by-step guide and familiarizing yourself with the notation system, you’ll be able to navigate through the complex puzzle and impress your friends with your Rubik’s Cube-solving skills!
Cracking the code of the Rubik’s cube is no small feat, but with the right tools and practice, you can do it. Remember, the cube isn’t a test, but a journey. Enjoy each step, each moment of realization, each triumph over a previously confounding obstacle. We’d love to hear about your journey with the Rubik’s Cube. Leave a comment, share your experiences, and remember – every puzzle has a solution!


